TLDR: Skip to the not tutorial.. with photos!
Too much text? Check out the podcast episode about this project!
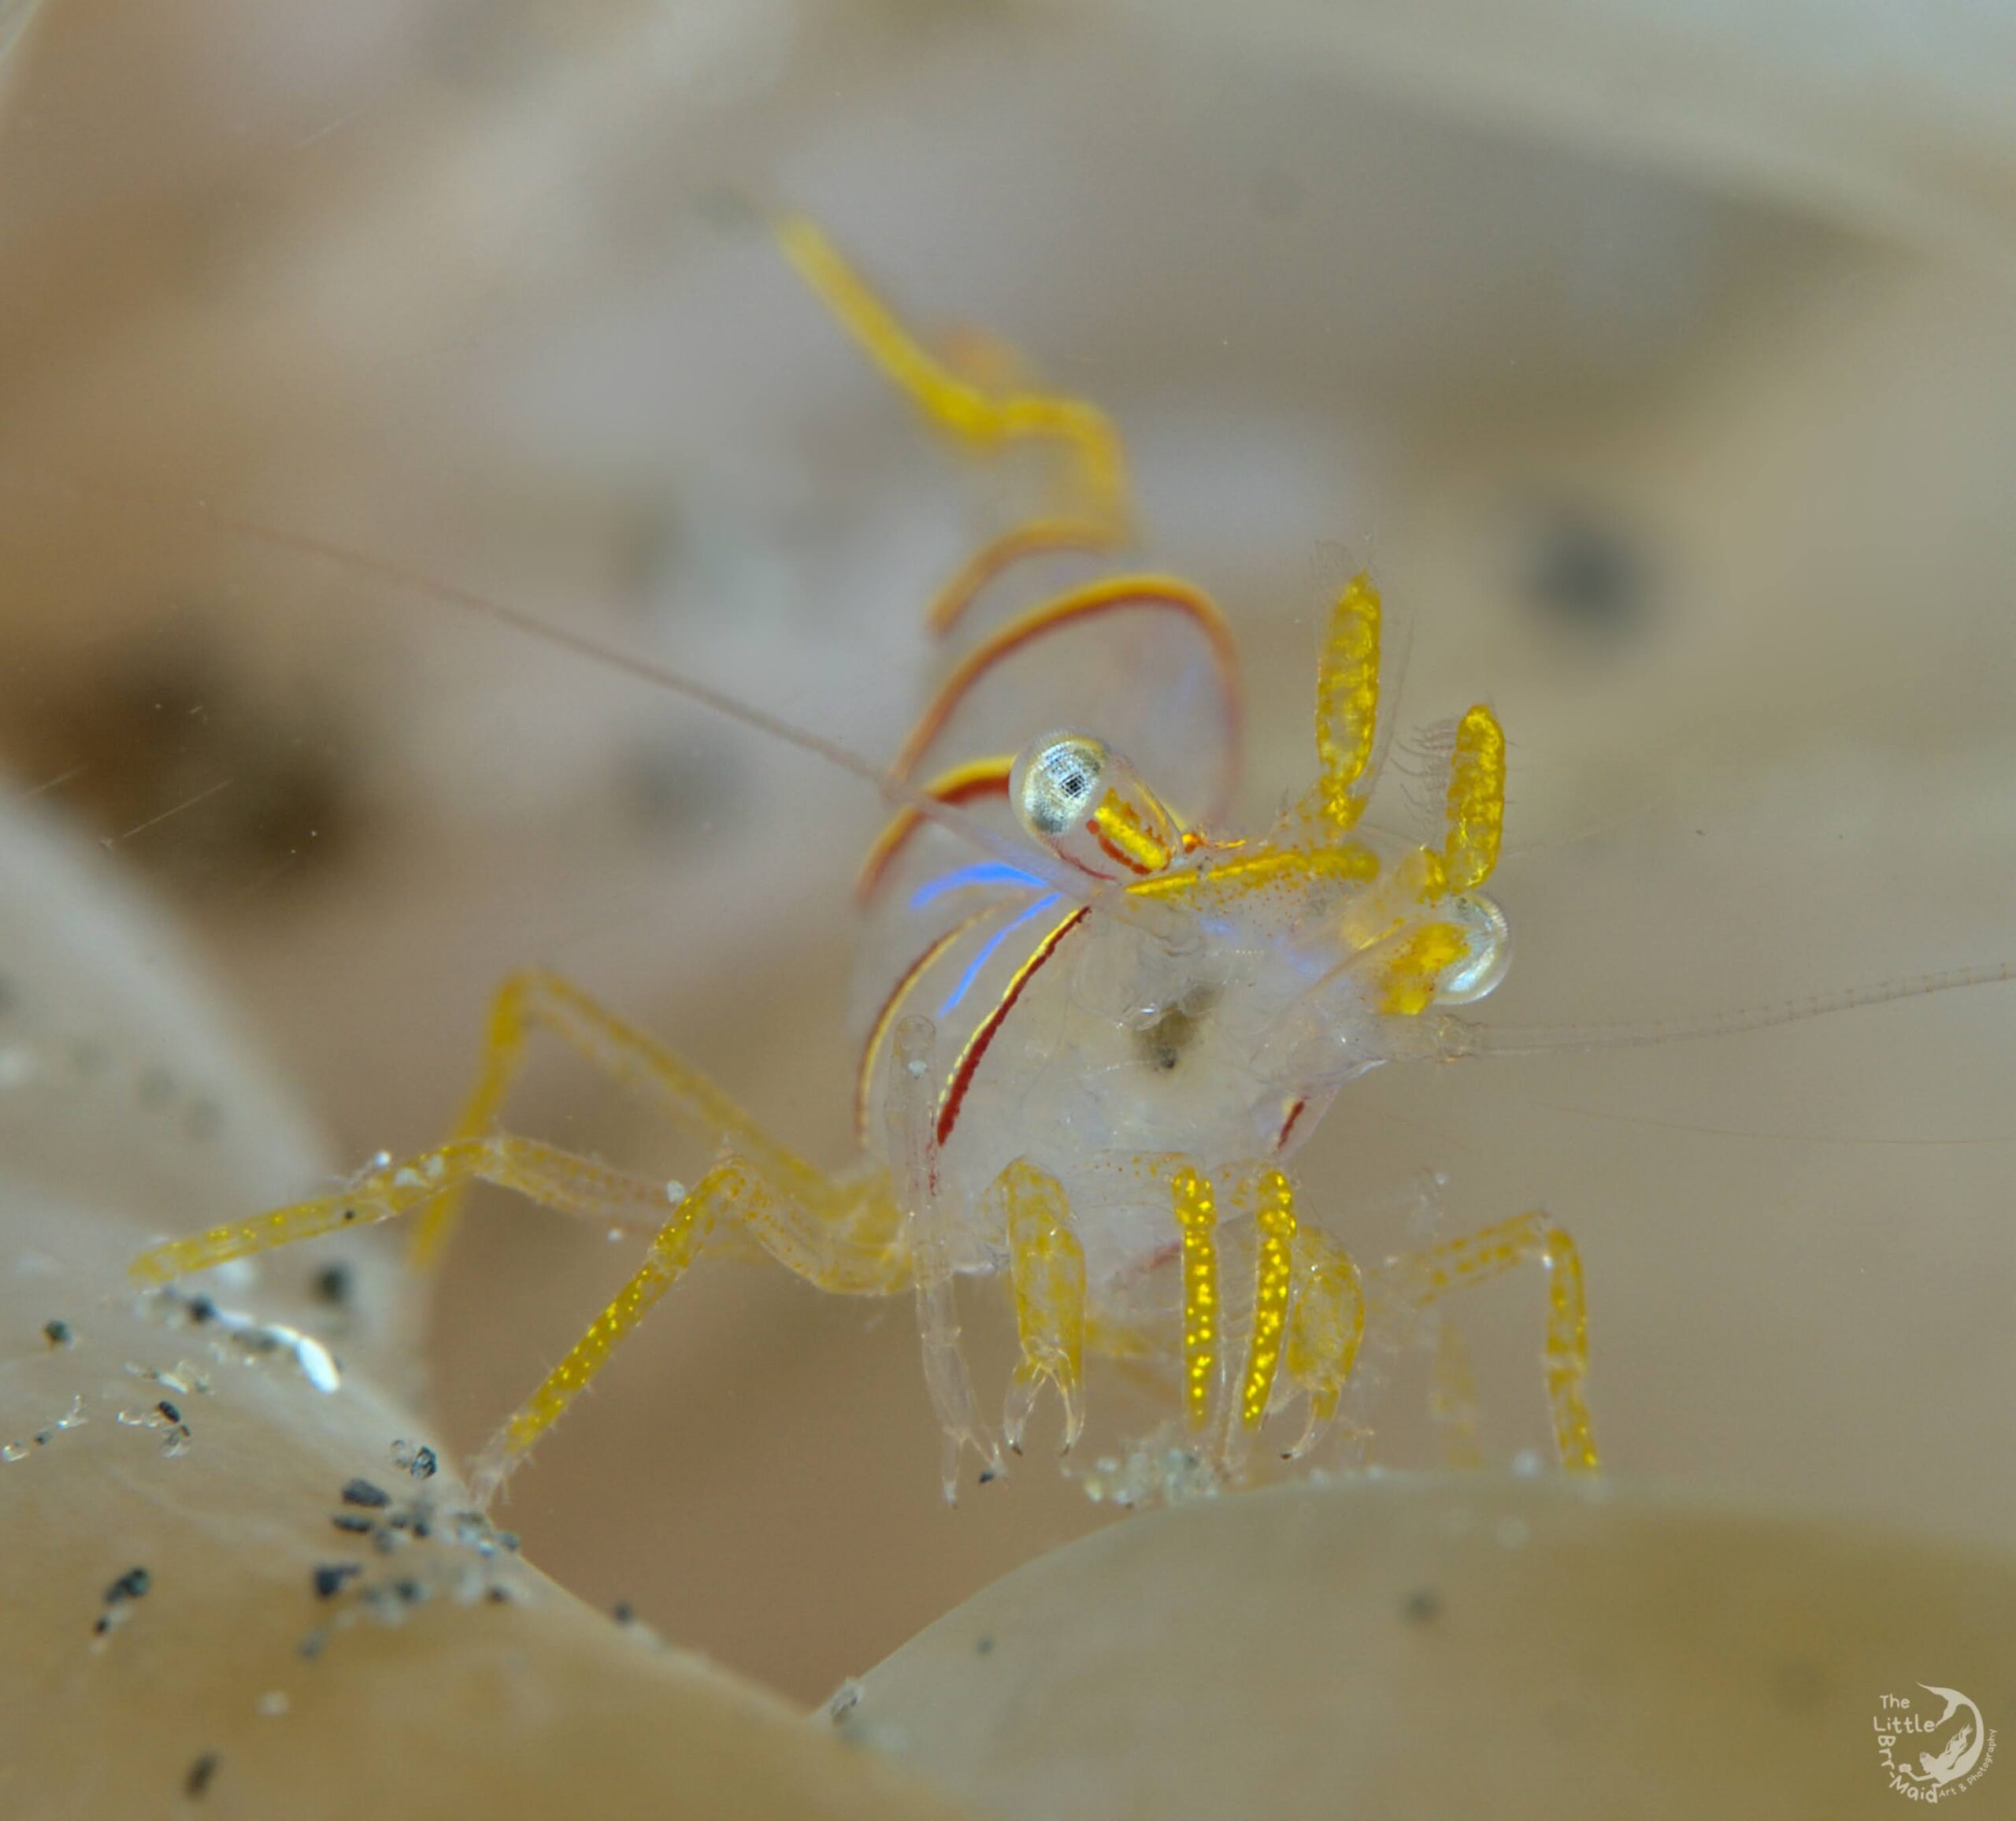
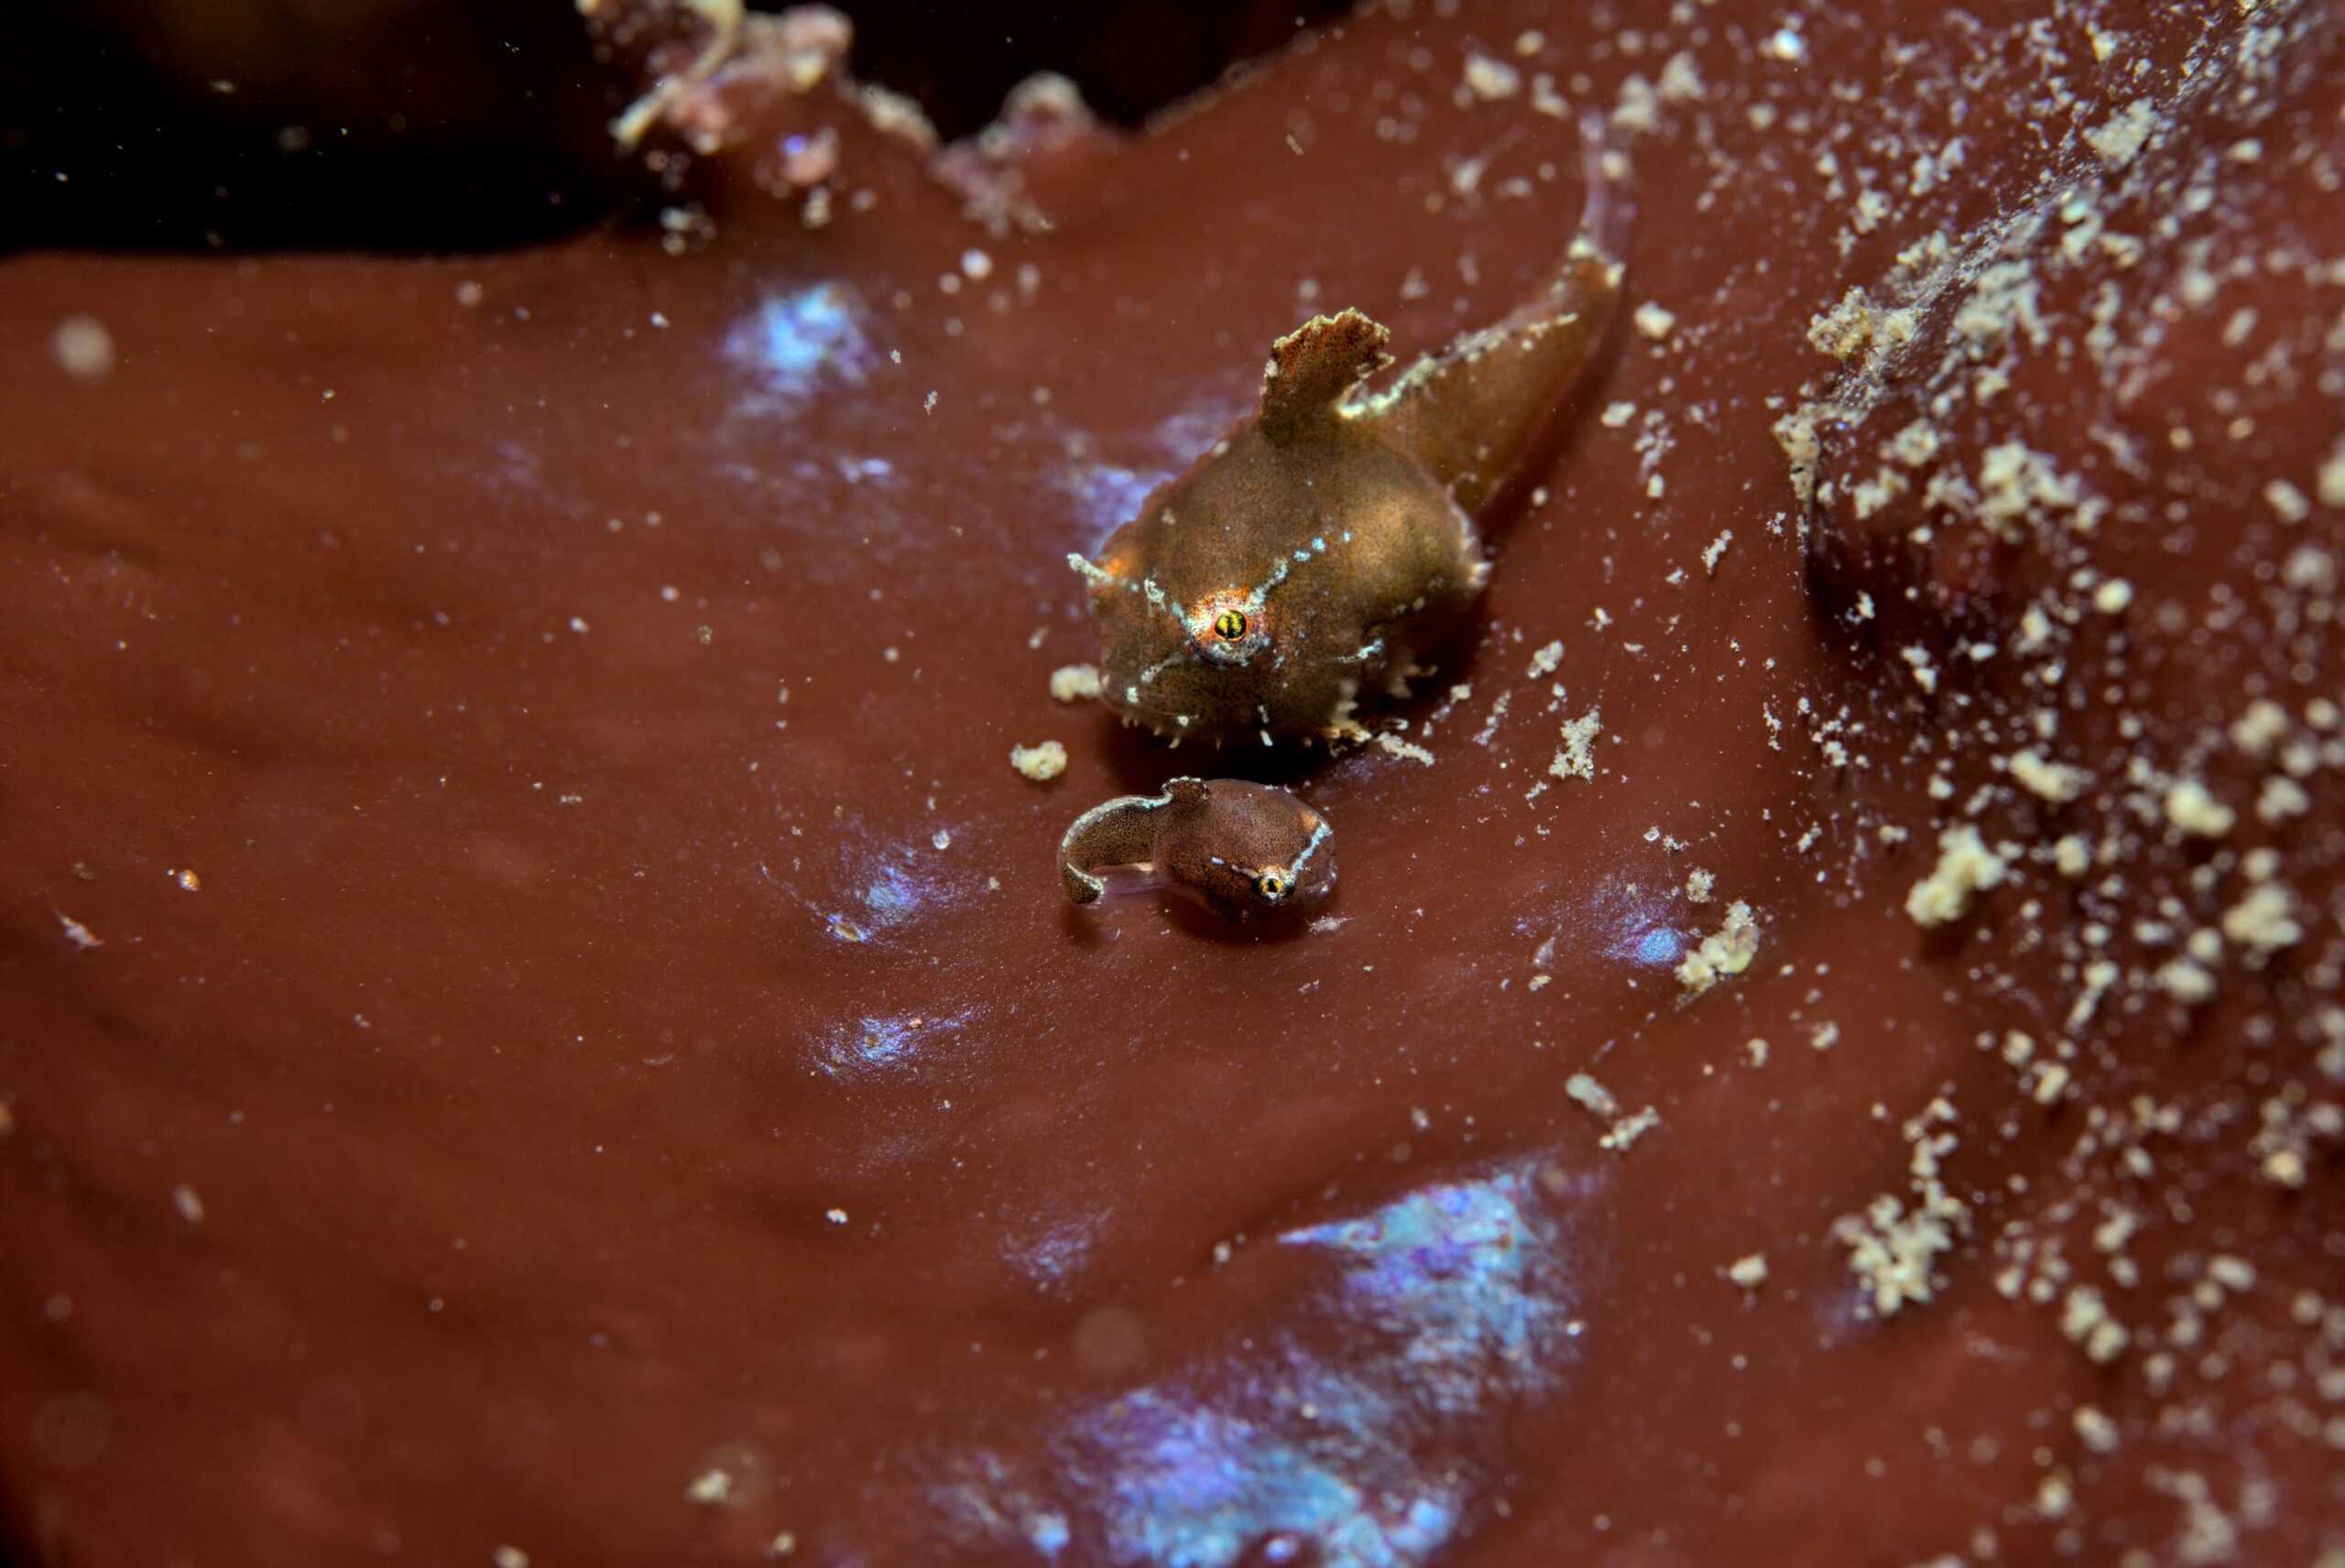
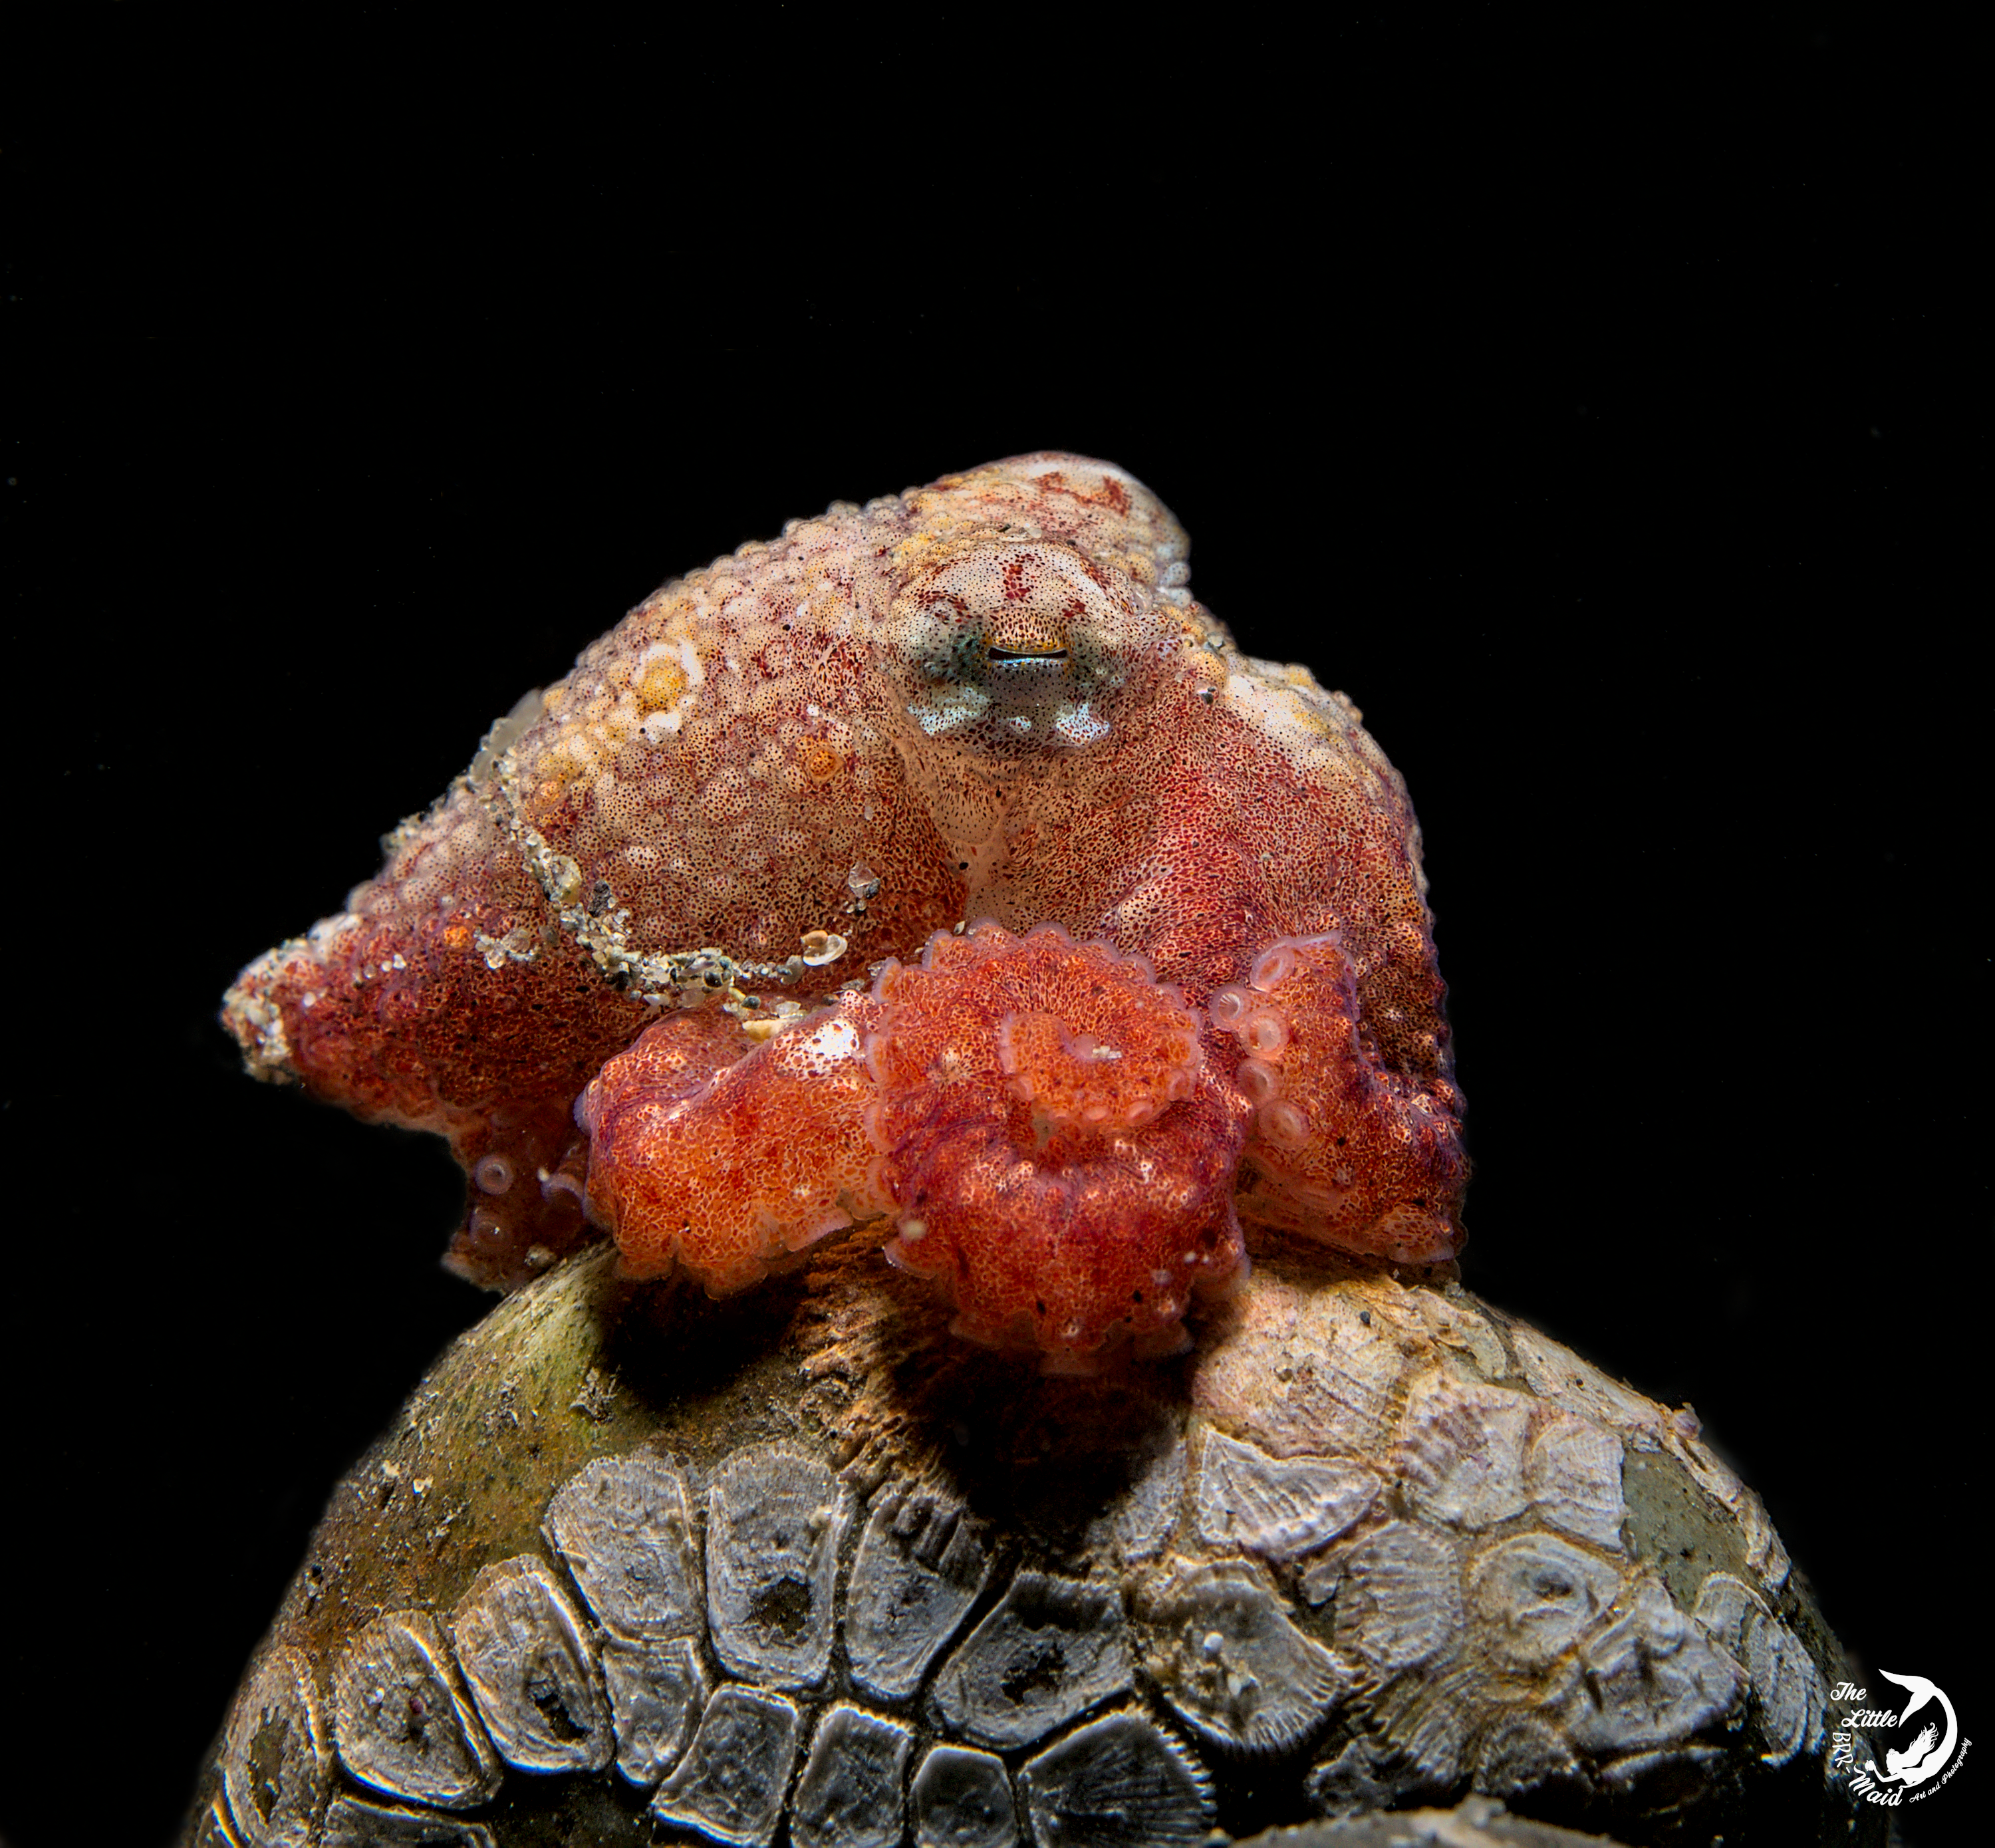
It was a beautiful, bright morning at Sunnyside Beach Park. My buddy and I spent our pre-dive set up watching a pod of porpoises playing near the shore and getting excited about all the cute baby lumpsuckers and nudis we were confident to find.
My buddy, let’s call him Henry…cause that’s his name… zipped me into my dry suit, taking more time than normal.
Quick note: I bought my dry suit second hand. It’s a bit small on me and has always given EVERYONE trouble. The zipper has been such a problem child that a few months before I had purchased a backup zipper for when it finally needed it. This will become important soon.

Anyways, since my zipper has a reputation for being difficult, this was a normal, slightly frustrating morning. Once it was zipped, I didn’t think more of it.
Until… we got into the water and proceeded to kick out. Nearly instantly I felt a wave of cold rush down my back. It wasn’t hard to guess what had happened.
My dry suit zipper had finally died.
I turned to my buddy…
“Hey… I may need to get out early… I’m leaking”
“How bad?”
“… pretty bad.”
Not wanting to miss baby lumpies, and empowered by months of diving in a wetsuit prior (and now with the addition of my birthday gift…a heated vest!!!) I decided “how bad could this be?” and dropped.
Within 2 minutes my suit was completely flooded.
50 minutes later when we finally surfaced, Henry went to unzip me so I could warm up. When he looked, I heard a baffled “uhhhhhh”
The zipper hadn’t just broken.. It had popped open about 8 inches and was stuck in the “closed” position.
My zipper wasn’t just toast… it was burnt to a crisp.

How Hard Can It Be?
Being on a tight budget, my first thought was“ oh #@%$” followed quickly by… how can I repair this? Purchasing a new dry suit isn’t in the cards this year. Even this well loved dry suit was a stretch I saved months for.
Sad and shivering, I watched longingly as Henry suited up for a second dive while I started tracking down a way to fix this mess.
Henry and all my friends told me to call a Seattle dive shop and ask for Tommy. Tommy does repairs! I called. Tommy does NOT in fact do repairs. The shop offered to ship it off to another state where for the low low cost of an 8 week turn around and $400 plus shipping the manufacturer would replace the zipper. Calling around the other major shops in the area got a similar response.
Since that was getting up to half the cost of a new dry suit I started wondering how reasonable it would be to just do the replacement myself.
Pros: I already got the zipper.. Faster turn around… much cheaper and budget friendly…and more eco friendly ♻️🌏
Cons: Nearly everyone I talked to about replacing the zipper looked at me and said “Have fun @&#%ing this up”. Which, given the task, isn’t an unreasonable response.
But as I called around more dive shops getting similar (and IMHO ridiculous quotes and turn around times) the more and more I wanted to say screw this and do it myself. Towards the end of my search, emotionally exhausted, still shivering, and irritated, a few other people mentioned “the dude in Oregon” but at that point I was dedicated to just doing the damn replacement myself.
My reasoning?
- I had a friend with experience doing 2 repairs on arguably more difficult zippers
- It’s not like I was going to make it MORE leaky
- I dove wet for over a year and through Seattle winter. I could do it again if needed.
So I called my friend, drove to his place with a convenient outdoor balcony and work area, and we got to work. The following took place over about a week.
The Not Tutorial
First up, I want to clarify this isn’t a tutorial exactly. I would have not attempted this without my friend who has a lot of first hand knowledge about dry suit zipper replacements. However, if you decide to try your own, I hope the details of my experience are helpful.
Also I find the costs of purchasing, repairing and maintaining dry suits ridiculous and if this helps another diver on budget… that’s a victory to me.
So you will need:
Acetone, contact cement for neoprene, heat gun, gloves, plastic sheeting or similar, and a new zipper. Make sure you measure the old zipper exactly! According to YKK, “ Zippers are measured from where the teeth start to where the teeth end”.
A note on acetone: you can get large amounts for cheap at ACE or Home Depot. Or you can raid your bathroom for nail polish remover, which is the same thing but more expensive. Side Note: this is also why I no longer paint my nails.
Second Side Note: It’s VERY important that you use contact cement for neoprene and NOT Aquaphor.
Last Side Note: Use your heat gun outside because inside it will set off your fire alarm.
Enough prep, onto the good stuff!
Here’s the general “how do replace your drysuit zipper” aka “What We Wanted To Do”
- Turn the (fully dry) dry suit inside out. For me this meant removing my wrist cuffs. This will become important later.
- Use a heat gun to loosen the old glue holding the old zipper to the dry suit.
- Peel the old zipper out
- Using acetone, clean both the tape of the new zipper and the area where the old zipper was. General rule is that your cleaning rag should come away with no black goo.
- Add three layers of contact cement to both the new zipper tape and the dry suit where you will be placing the zipper. Add a layer of contact cement, let it dry (about 20 minutes) then repeat 2 more times.
- Align the new zipper on the dry suit.
The idea is that once the new zipper is aligned on the dry suit, the cemented areas to cemented areas will vulcanize over time. And in case you’re curious about wth is vulcanization…
“ Vulcanization is a chemical process that involves the formation of cross-links between long rubber molecules so as to achieve improved elasticity, resilience, tensile strength, viscosity, hardness and weather resistance. In particular, vulcanizing cement is used to join rubber components, acting as an adhesive consisting of elastic polymers which have been dissolved in a solution. As the solvent evaporates, the polymers harden to form a bond”
Professor Usain BOAT
Long story short, the cement joins everything like a super crusty peanut butter sandwich. The benefit with contact cement is that it loosens with heat, which is how you get the old zipper out. Or supposed to (dun dun dun (*foreshadowing*)). This is also why we don’t use aquaseal for this part, because once aquaseal is dry, it’s permanent. You can cut it out, or add more aquaseal, and that’s about it.
So that’s the know how and the how how.
Nothing left to do but to start!
And of course…nothing went to plan.
We removed the wrist cuffs, turned the dry suit inside out, and discovered the zipper tape was sandwiched between two layers of thin neoprene. Why? Is there a function? Is it aesthetic? Scuba Pro please explain!
We weren’t sure, but it made things more annoying. We had to cut the surface away to begin to use the heat gun and reveal the zipper tape under it.
Eventually we managed to do this. Hurray! Next we started to pull the old zipper out … BUT the glue was more powerful than the dry suit and chunks of the suit’s neoprene came off… still stuck to the zipper.

OOPS
So clearly plan A was a failure but we still had Plan B: Cut, copy paste, and a $!#% ton of aquaseal!
We abandoned our attempts to pull the zipper out and instead cut the zipper out of the dry suit. Literally, we cut out the elements and insertion pins out of the dry suit. Theoretically, from here, we could simply clean the area, add our cement, and paste the new zipper over the dry suit and remaining zipper tape.

So we broke out the acetone, and began cleaning. Now, theoretically you are supposed to scrub-a-dub-dub until both areas stop getting goop on your cleaning tools. But we just said after a ton of time… good enough.

Then we got back to our original plan. 3 layers of contact cement on both the zipper tape itself, and the area the zipper is going. So far not too hard but tedious.


And here’s the most tedious, nerve wracking step where I think most people who try this mess up. You need to do the next part with the zipper unzipped. As in open. You line up one end, place it in CORRECTLY (remember the zipper got stuck open so we had an open zipper as reference while the suit was inside out therefore backwards so… ok think this end goes here … right?”) And if you mess it up while putting it in, or if the zipper gets bumped or moves while drying or gets contact cement on it.. The teeth get glued together. Or they can’t close because they’re covered in goop.


Very carefully, with both of us holding the zipper we carefully maneuvered one end. Once it was snugly placed, we continued along one side of the tape to the other end, keeping the metal zipper teeth AWAY from glue or anything remotely like glue. Then onto the other end.. Press in and set. Now press the other part of the tape and seal it down so it fits like a glove.

Except of course it didn’t. Even though the zipper was the correct size, the two insertion pins on each end of the new zipper were ~1 mm thicker than the old zipper. So when we pressed the zipper tape down, a small section about half an inch max refused to lay flat.

BUT WE HAD A SOLUTION! And to be honest, this is the part where I was convinced we were going to completely @%#$ this up.
We cut into the zipper tape and folded the ends over to make it lay flat, like folding origami. Already, thanks to the chunks of neoprene that had been yanked out with the old zipper tape everything was getting a &@$!ton of aquaseal. Just another section to add to that pile!
We also added some more contact cement just for good measure.

And that was it for day 1! The only thing to do was let it dry in place, held down with plastic and dive weights.
This is where the time commitment is. It needs time to set. Especially for this repair since we needed a thick layer of aquaseal, which we applied about two days later before setting it out to dry for another couple days.
One more day later and it was time to test our zipper fix.
The Results!
To everyone who laughed at my idea… the zipper held.

Even now, dives and dives later, my zipper is working beautifully. Thank the lord because I really didn’t want to go back to wetsuit diving for more than a summer.
I am taking a few more precautions now like minimizing my undergarments to reduce stress on the new zipper. I’m also constantly watching to see if it needs more aquaseal. But so far, it’s diving like a dream.
The same can’t be said for my wrist cuffs. Remember how I said we turned them inside out? And that my drysuit was secondhand?
The diver who had them before me mentioned the cuffs were problem child. This has proven accurate. Every dive I get out with damp wrists. When I bought the suit, the wrists had been sealed with a thick layer of aquaseal.
And when we turned the dry suit inside out for the zipper repair, we tore this aquaseal.
So although my back was dry my arms were soaked!
Then, three months after the zipper repair, the right cuff gave up on life and fell off completely. Finally, after a quick repair that turned into an hour long save, my dry suit was back to fully functional. Although between the perpetually leaky cuffs and the new, permanent zipper, I am starting to save best I can for a new dry suit in the next few years. Unfortunate, but necessary.
One last fun tidbit to add to this story.. The second test dive after the zipper repair.
Dive one back went swimmingly. But I was still a bit nervous as my buddy zipped me up and I headed towards the water. Wading in, I laughed in relief feeling myself stay warm and dry. This happy feeling lasted only a moment… until my buddy entered the water.
As he waded in up to his chest, I heared a sudden “$@%!”.
No.. I wasn’t leaking. My buddy was.
Where? His zipper.